
How to build an ADU in the Bay Area
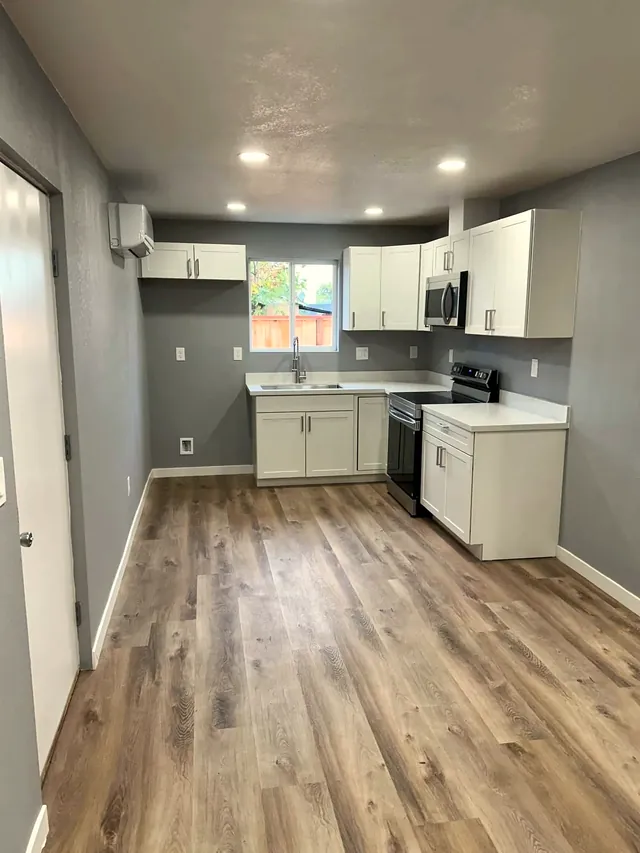
An ADU, or accessory dwelling unit, is a second home on the same lot as a house. Bay Area homeowners build them for parents, grown children, guests or rental income. California has made ADUs easier to build over the last several years, but every project still needs plans, a permit and inspections. This guide walks through the steps in order, so you know what to expect before the first phone call.
Types of ADUs
Most Bay Area ADUs fall into one of three types. The right one depends on your lot, your budget and how you plan to use the space.
- Detached ADU. A separate small house in the backyard, built from the foundation up. It gives the most privacy and the most design freedom, and it needs the most site work.
- Garage conversion. An existing garage becomes living space. The walls and roof are already there, but the slab, the framing and the walls often need upgrades to meet the code for a home.
- Junior ADU (JADU). A unit of up to 500 square feet inside the main house, often made from a bedroom or part of the living space. It needs at least a small kitchen and can share a bathroom with the house.
There is also the attached ADU, built as an addition to the side or back of the house. It works like a detached unit, but it shares a wall with your home.
Step 1: Check the lot
Every ADU starts with the site. Before anyone draws plans, someone needs to look at the size and shape of the lot, the slope, the trees, the distance to the property lines and where the sewer, water, gas and power lines run. On a hillside lot, the soil and the drainage matter as much as the floor plan.
This is also when you find out what your city allows. Each Bay Area city adds its own ADU rules on top of state law, and some lots have extra limits, such as a fire hazard zone or a utility easement.
Step 2: Plans
Once the lot is clear, an architect or designer draws the ADU: the floor plan, the outside views, the site plan and the details the city needs to review. This is where you decide the layout, the windows, the kitchen and the bathroom. Changes are cheap on paper and expensive on site, so take your time here.
Step 3: Engineering
A structural engineer reviews the design and calculates the foundation, the framing and the connections that hold the building together in an earthquake. In the Bay Area, this step matters. The engineer’s calculations and details become part of the plan set the city reviews. Most projects also need energy calculations to show the building meets California’s energy code.
Step 4: Permits
The plans and calculations go to the city’s building department as a permit application. Plan reviewers check zoning, the building code, fire safety and energy rules, and they often send back comments. The designer and the engineer answer those comments, and the plans go back in. When everything is approved, the city issues the building permit and the work can start.
Some cities also charge fees for new utility connections, and some need a separate permit for a new sewer line or electrical service. Ask about these early, so they are part of your plan from the start.
Step 5: Construction
Building an ADU usually follows the same order as building a small house:
- Site work and trenches for the utilities
- Foundation
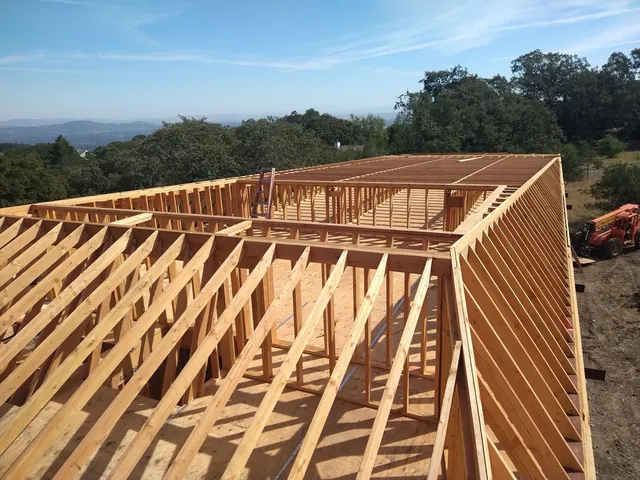
- Framing, roof, windows and doors
- Plumbing, electrical and heating rough-in
- Insulation and drywall
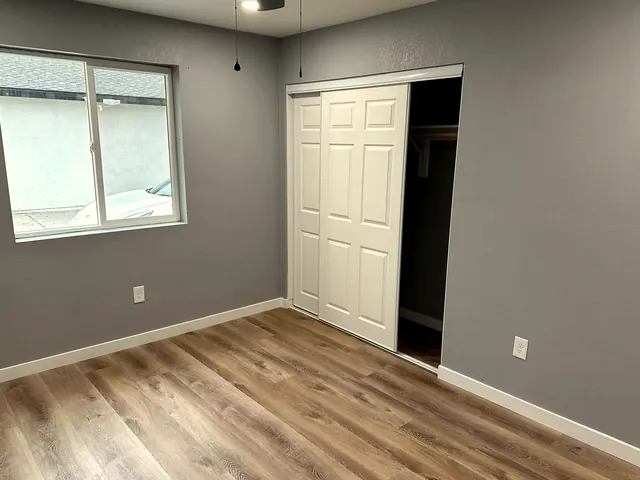
- Cabinets, flooring, tile, fixtures and paint
The city inspects at key points along the way. For example, it checks the foundation before the concrete is poured, the framing and rough-in before the walls are closed and the insulation before the drywall goes up. Each inspection has to pass before the next step.
Step 6: Final inspection
When the work is done, the city does a final inspection. Once it passes, the permit is closed and the ADU is legal to live in. Keep the approved plans and the final sign-off in a safe place. You will want them if you ever sell the house or rent the unit.
What to prepare before you call
You do not need plans to start the conversation. A few things make the first visit faster and more useful:
- Your address and, if you have one, a survey or an old site plan of the lot
- How you want to use the ADU: family, guests, rental or a home office
- The rough size and the number of bedrooms you have in mind
- Photos of the backyard, the garage or the space you want to convert
- Any old permits or plans for the main house
- A short list of must-haves and nice-to-haves
With that, a contractor can walk the lot with you, point out what will drive the cost and explain which type of ADU fits your property.
How GM Ironwood builds ADUs
GM Ironwood Construction builds ADUs across the Bay Area with our own architect and structural engineer. We can pull the city permits, schedule the inspections and run the construction. After the site visit, you get a written bid, itemized line by line. See our ADU page for photos of finished work, or call (510) 479-2809 to talk about your lot.
This guide is general information, not legal advice. Confirm with the CSLB or your city.